|
|
|
Profile tag configuration
The Profile Tag Configuration page is used by administrators to apply a tag to a row on a form. A tag can only be applied once per form because the score it identifies must be unique. The same tag can be applied to multiple forms to allow a comparison of similar scores across the company and date intervals.
The Profile Tag Configuration page is also where the score types (e.g., Rating, Benchmark, and Weighted Gap) used with the reporting metadata are configured for a form.
Follow these steps to apply a tag to a form and set the score types.
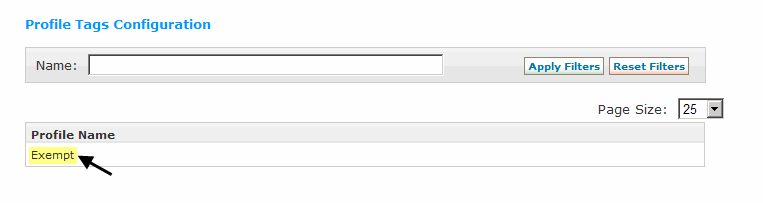
- From the Navigation bar under Content Management, select Profile Tag Configuration.
- Select the form to be tagged by clicking on the Profile Name. Optionally choose to narrow your search results by entering a profile name and clicking Apply Filters and then select the form from the list.
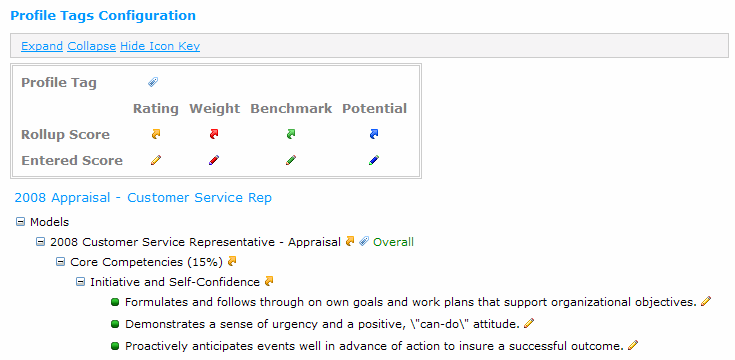
- After selecting the form, the content of the form is displayed allowing the administrator to apply a Tag to a row. Colored icons identify rows containing an Entered Score (the score is entered by the user) and rows containing a Rollup Score (the score is rolled up from other scores).
An Icon Key is available as a guide by clicking on the Show Icon Key link at the top of the page.
Use the Expand and Collapse links to expand/collapse the form content.
- Click the row directly beneath Models. This is the model row. A Tag Configuration pop up displays that contains a section called Score(s) to Display. This is where the score types (e.g., Rating) used with the reporting metadata are configured.
- Verify in Score(s) to Display that Rating has a check mark.
- If the form is used for an assessment that is configured to calculate the Gap, add additional check marks for Benchmark and Weighted Gap. Do not add check marks for Weight, Potential, and Gap.
- Often the model row contains the rollup for the Overall rating for the form. Optionally, select a Tag using the drop-down list.
- Click Apply to apply the setting for Score(s) to Display and the Tag. The Profile Tag displays next to the tagged row.
- Optionally, click another row to add a Tag. A Tag Configuration pop up will display.
- Select the Tag using the drop-down menu.
- Click Apply to apply the Tag. The Profile Tag displays next to the tagged row.
- Make changes to the tag configuration by selecting the row and editing or removing the tag. To remove a tag, use the drop-down list to select the blank field. Make sure to Apply any changes.
- Click Finished at the bottom of the page when you have completed the Profile Tag Configuration for the selected profile.
|
© 2023 Rival. All rights reserved. |

 |