|
|
|
Translate narrative sets
The Manage Narrative Sets screen allows for the translation of narratives. Translated narratives are displayed based on a user’s language settings. If a user’s preferred website language setting is not configured, the "Base Narrative" is displayed.
Follow these steps to access the narrative sets to provide translations.
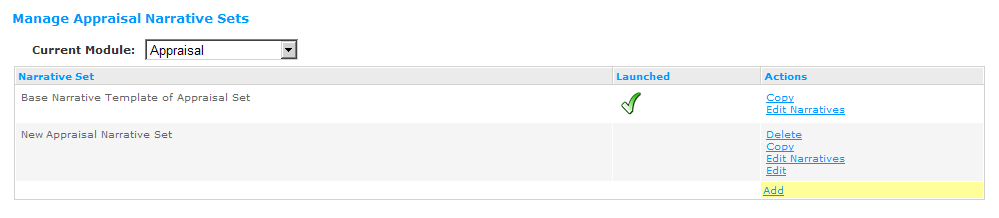
- From the Navigation bar under Site, choose Manage Narrative Sets.
- Use the drop-down menu list to select the Module.
- Under the Actions column, click the Edit Narratives links.
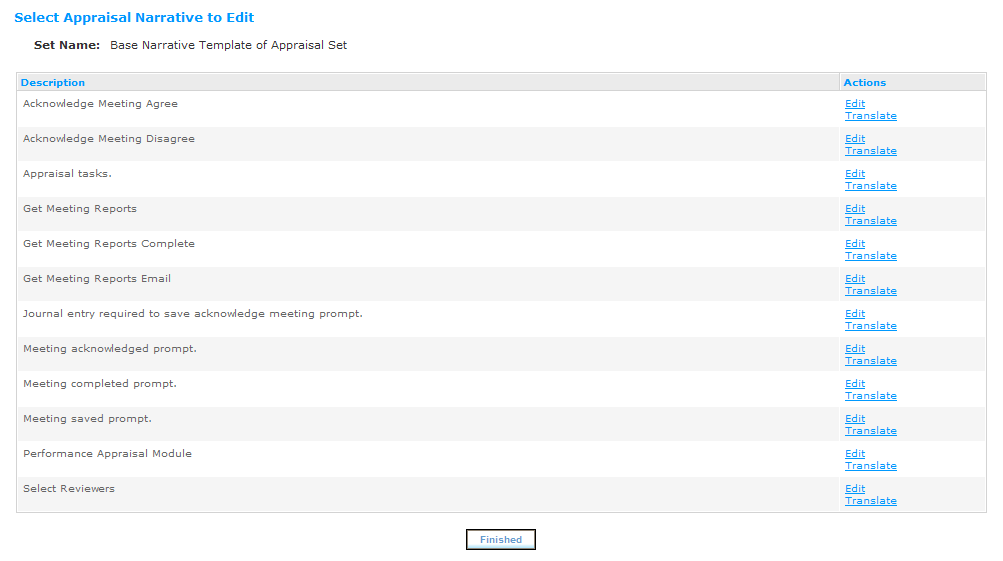
- Select the Translate link, under the Actions option, next to the narrative you want to translate.
- The Translate Narrative screen displays. Information about the narrative is presented at the top of the page including the Base Language, Base Comment and narrative text.
- Use the Language drop-down field to select the language. This is the language the translation is to be provided in. Only supported languages are available for selection.
- Provide translated content for the comment and narrative text. The narrative text content is entered into the WYSIWYG’s text editor.
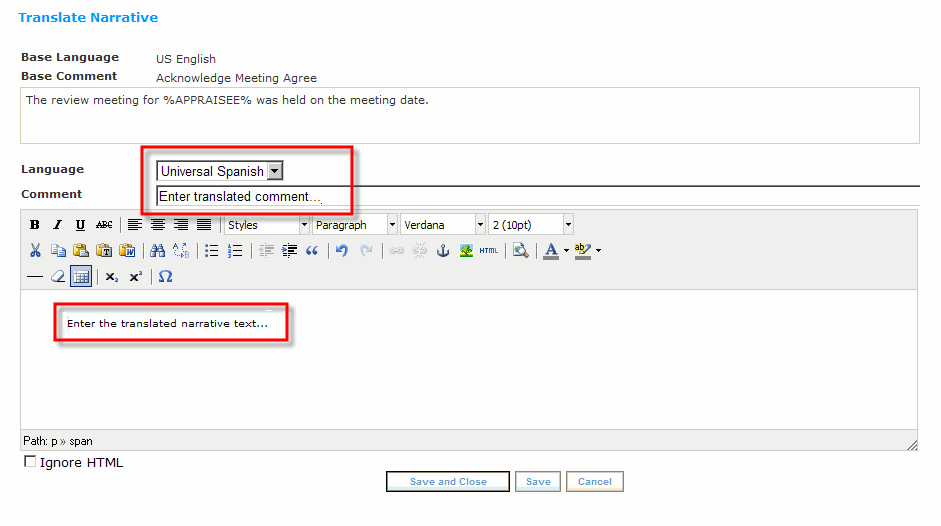
- After providing the translated content and updating the format using the editor, click Save and Close. For additional information on using the WYSIWYG editor, please refer to Section A-2, Using the WYSIWYG Editor.
- Click Finished to return to the Manage Narrative Sets screen.
|
© 2023 Rival. All rights reserved. |

 |