|
|
|
Unsubmit a checklist
If a checklist is submitted in the Student Portal (has a Complete status) and you need to reset it so it can be edited, follow the steps here to unsubmit it.
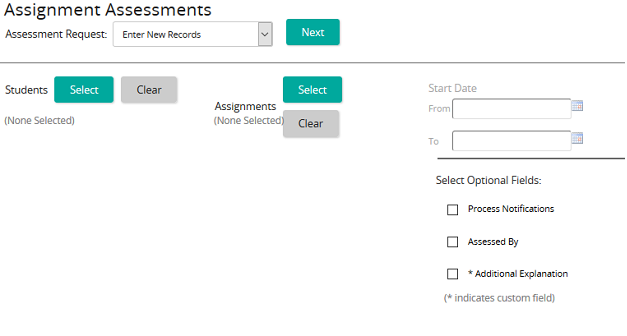
- From the navigation bar, click Learning>Assess>Assignments.
The
 Assignments Assessments page opens.
 - From the Assessment Request drop-down box, select Edit Existing Records.
- In the Students column, click Select, select the student whose checklist needs to be unsubmitted, and click Confirm.
- In the Assignments column, click Select, select the assignment that contains the checklist, and click Confirm.
- Click Next.
- In the Checklist column, click the checklist icon in the record to display the checklist.
- Click Unsubmit.
- At the prompt, click OK.
- Click Save and then close the window.
The checklist status in the Student Portal returns to In Progress. The checklist can now be edited.
| ©2021 SilkRoad Technology. All rights reserved. |
| Last modified on: 2/16/2021 4:20:58 PM |