|
|
|
Add a relationship
Follow these steps to add a relationship.
- From the Navigation bar, select Manage Role Assignments.
- Type in or select the search parameters, using the drop-down menus.
- Click Search. Search results are displayed below.
- Click the Select link next to the desired employee’s name.
- Next to the Role you want to add a relationship to, click Manage Relationships.
- Click the Add link in the Actions column.

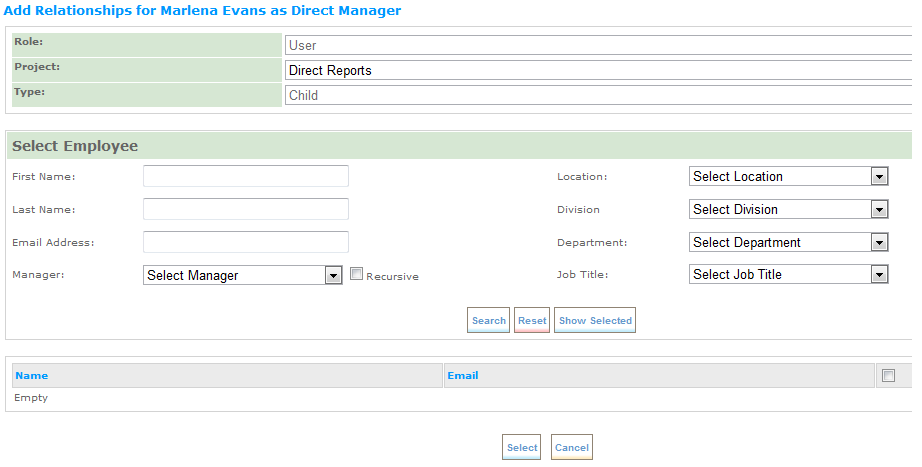
- Type in or select the search parameters, using the drop-down menus.
- If the Role you selected to set the relationship for is User (the Child role), you must now select the Parent role:
Role: select the role from the drop-down menu for this relationship. This will set the Default Project.
Project: this is set to the Default Project for the Parent role. It is recommended that this setting not be changed.
Type: the drop-down menu is set to Parent and cannot be changed.
If the Role you selected to set the relationship for is not User (the Parent role), the Child role is preset:
Role: the drop-down menu is set to User and cannot be changed
Project—this is set to the Default Project for the Parent role. It is recommended that this setting not be changed.
Type: the drop-down menu is set to Child and cannot be changed.
- Click Search. Search results are displayed below.
- Place a check mark next to the employee’s name to create a relationship.
- Click Save at the bottom of the page.
|
© 2023 Rival. All rights reserved. |

 |