|
|
|
Manage localized content
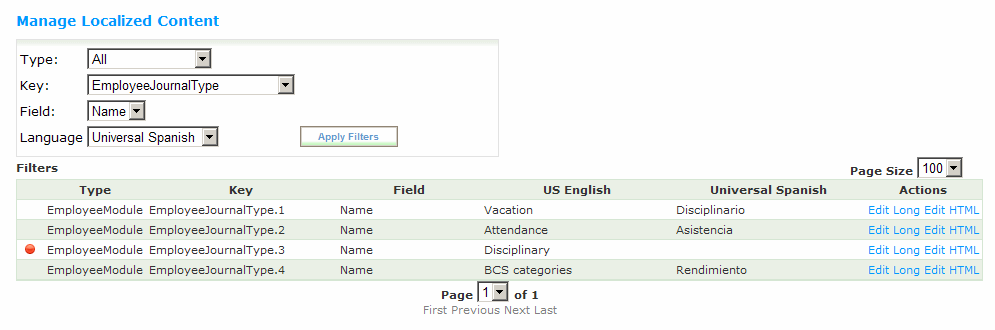
The Manage Localized Content screen displays a table that allows for the translation of localized content. Here, missing translations can be identified and entered.
Customers should first enter translations using the "Translate" action available on many maintenance pages. This allows for the translation of text within the context it was created. After entering translations using the "Translate" action on maintenance pages, administrators can use the Manage Localized Content page to identify and enter any missing translations.
Note: Static text can be translated using this feature. Be sure to select Static in the Type field.
Follow these steps to access the localized content screen.
- From the Navigation bar under Content Management, choose Manage Localized Content.
- The Manage Localized Content page displays. Use the links at the bottom of the page to view the previous or next page. Change the number of rows to display on the screen using the drop-down list. By default, the page size is set to 25.

- Use the drop-down filter fields at the top of the page to view the content to translate.
Type–the type column indicates the module the text exists in.
Key–the key column is an internal indicator of the table name within the database.
Field–the field column displays the name of the field within the table.
Language–use the language drop-down field at the top of the page to select the language. This is the language the translation is to be provided in. Only supported languages are available for selection.
- Select the language using the language drop-down field. This is the language the translation is to be provided in. Only supported languages are available for selection.
- After selecting the filters, click Apply Filters.
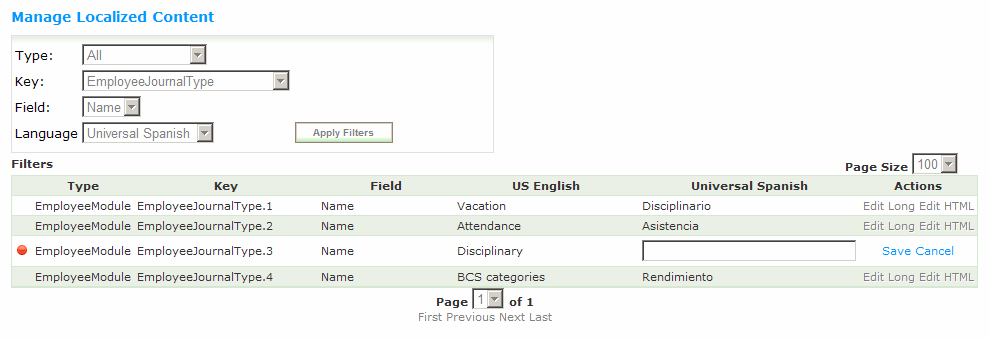
- Items that need to be translated display a red circle in the far left column and a blank field for the selected language.
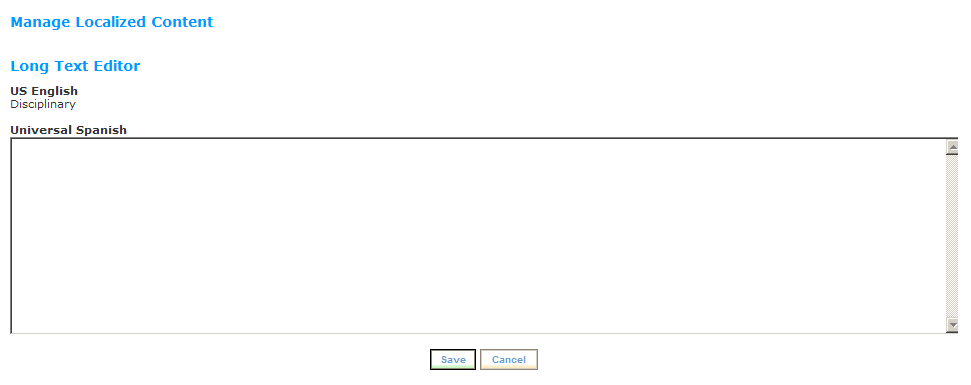
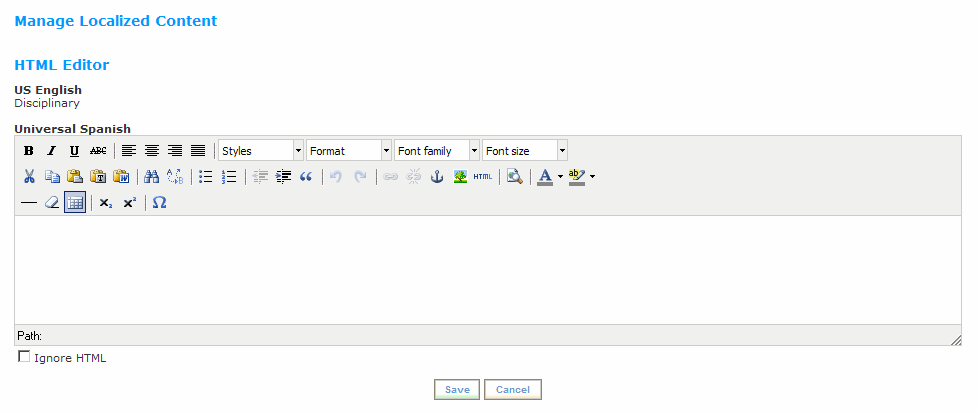
- Next to the field to translate, click Edit, Long or Edit HTML.
Edit–allows for inline editing and translation of the selected text field.
Long–opens the Long Text Editor for translation of the selected text field.
Edit HTML–opens the HTML Editor screen. The editor allows for additional editing features including bold, italic, underline, bullets and numbering.
- After providing the translation, click the Save link.
|
© 2023 Rival. All rights reserved. |

 |