|
|
|
Add an assessment group
Follow these steps to add an assessment group.
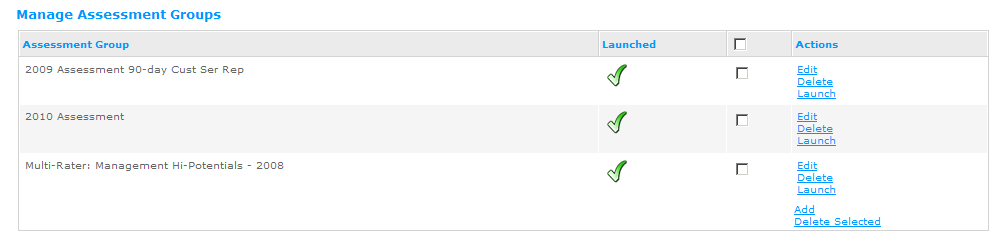
- From the Navigation bar under Assessments, select Manage Assessment Groups.
- Click the Add link in the Actions column.
- Complete Step 1 to add an assessment group.
- Rename the assessment group (Group Name) or choose to use the default title.
- Using the drop-down fields select the assessment and process information. It is recommended that you use the Competency Assessment Type.
- Select the Category Set you want to use for this assessment. The category sets contain the overall minimum and maximum assessor counts and the category set rules that define which assessors can be selected. You will need to create category sets before adding an assessment group.
- Keep the Project set to Direct Reports and Process Label set to none.
- Choose a definition for 100% Complete.
- Choose if you want the assessment to automatically close when 100% Complete is reached.
- Choose if you want the assessment to automatically close on the day after the Complete Assessments date. You will enter this date in Step 3.
- If you choose to start a Development Plan you have the option to start the development plan when the assessment plan is closed or on the Development Plan due date. You can select the due date in Step 3.
- Use the check boxes to force spell check. When you force spell check, spell check will automatically run when the assessment is saved.
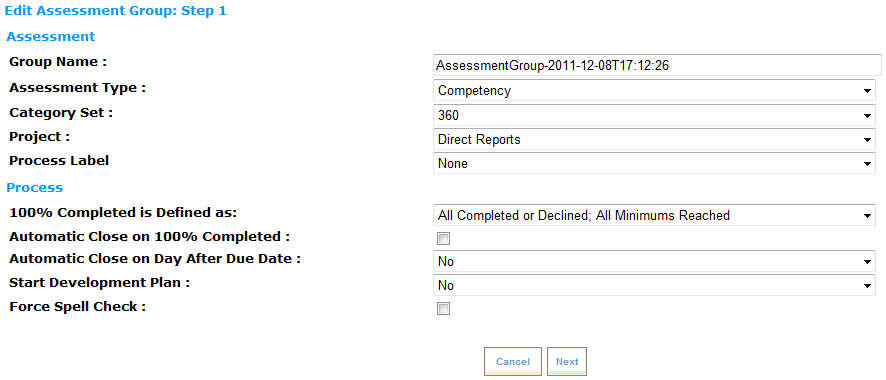
- Click Next to continue defining the assessment group.
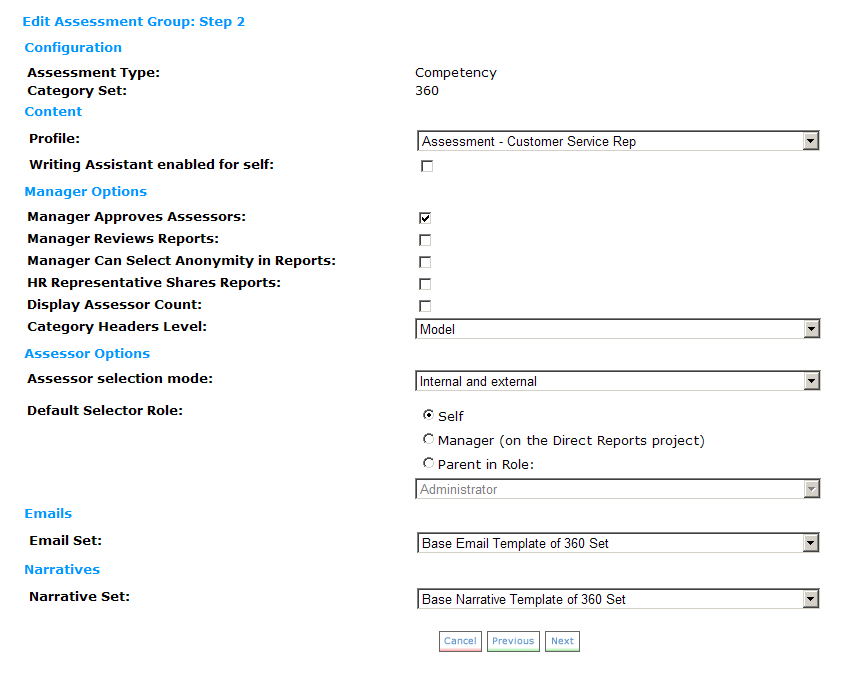
- Complete Step 2 using the drop-down fields and check boxes.
- Select the profile for the assessment. Profile is another name for a form that is built using the Online Form Builder.
- Optionally choose to enable the Writing Assistant for Self. In Assessments the Writing Assistant is not available for Self unless this is option is chosen. The Writing Assistant also needs to be enabled on the form using the Writing Assistant Competency Mapper tool.
- Use the check boxes to select Manager Options including review reports and approve assessors. Here you can choose to have the Manager approve the assessors, review reports and/or choose anonymity in reports. In addition, you can choose to have HR share reports. If you choose to have the manager review reports, the manager will review the completed assessment reports and optionally choose to release them to the assessee. By selecting the option to have the HR representative share reports, a task is sent the HR representative to share assessment reports with selected individuals.
- Select the Category Header Level. These are the headers in the Assessment form. Most customers will select Model (i.e., Level 1 on the form). This is where your assessment scores will appear.
- Select the type of Assessors that can be chosen. Options include Internal, External or both. This allows you to define if you want to allow assessors to be selected from outside of your database.
- Make sure to define the selector role. This determines who is able to select the assessors. The default is Self which allows the assessee to select his/her assessors.
- Using the drop-down list select the Email and Narrative Set you want to use for this Assessment.
- Click Next to continue defining the Assessment Group.
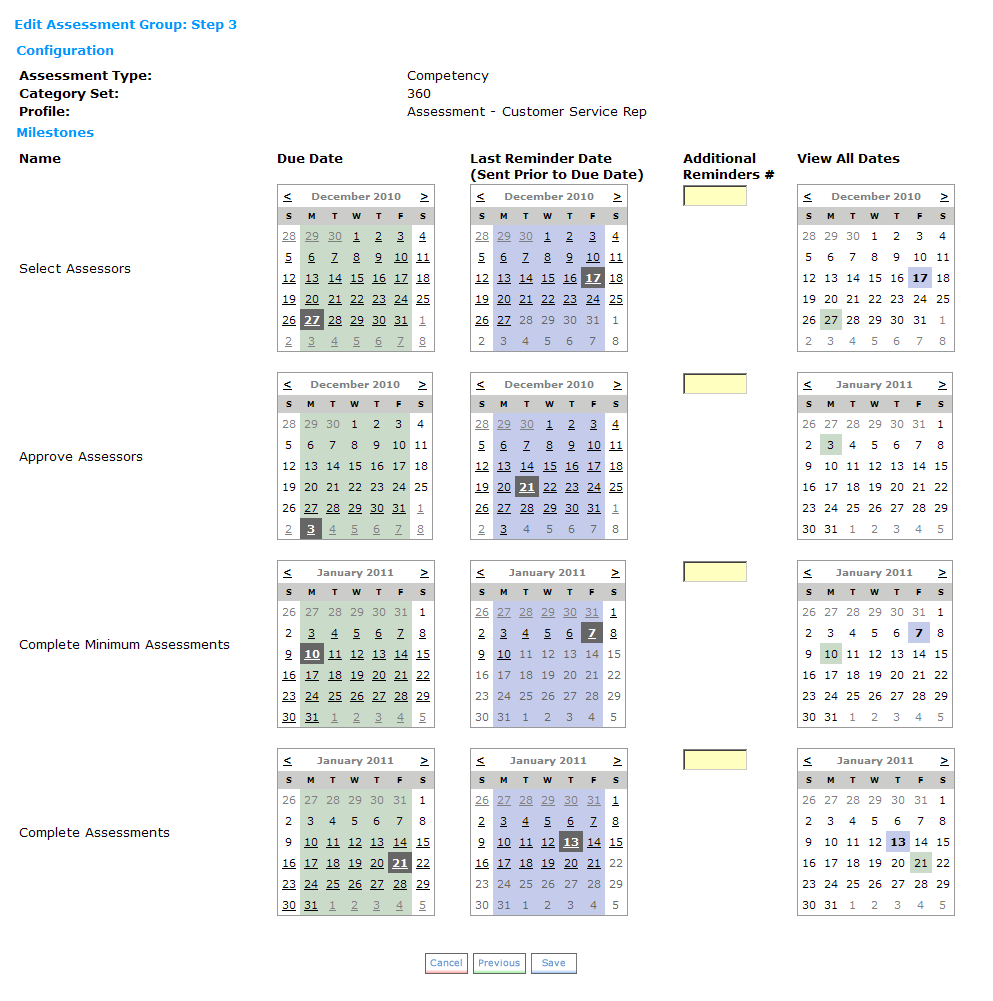
- Complete Step 3 by choosing the milestone dates.
- Select the dates for the milestones. Choose the dates for Selecting Assessors, Approving Assessors, Completing Minimum Assessments and Completing Assessments.
- Optionally choose to add additional reminders.
- If you have selected to start a Development Plan you will choose the due date.
- Click Save to create the new Assessment Group.
|
© 2023 Rival. All rights reserved. |

 |