|
|
|
Translate navigation nodes
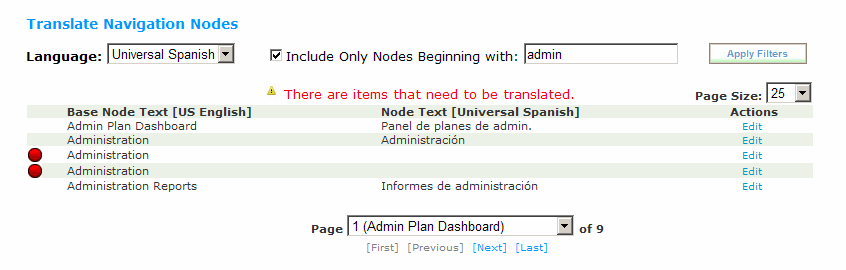
The Translate Navigation Nodes screen allows for the translation of the navigation nodes. The navigation nodes are displayed on the left menu bar.
Navigation nodes that need to be translated display a red circle in the far left column. In addition, a notice displays at the top of the grid.
Follow these steps to access the translate navigation nodes screen.
- From the Navigation bar under Content Management, choose Translate Navigation Nodes.
- The Translate Navigation Nodes page displays. Use the Language drop-down field at the top of the page to select the language. This is the language the translation is to be provided in. Only supported languages are available for selection.
Use the page drop-down field to select a page to view.
- Optionally, choose to filter the display list by using the Include Only Nodes Beginning with filter. After placing a check mark in the check box and entering the filter value click Apply Filters to view the list.
Follow these steps to translate a navigation node.
- From the Navigation bar under Content Management, choose Translate Navigation Nodes.
- The Translate Navigation Nodes page displays. Use the Language drop-down field at the top of the page to select the language. This is the language the translation is to be provided in. Only supported languages are available for selection.
- Items that need to be translated display a red circle in far left column. In addition, a message displays at the top of the grid.
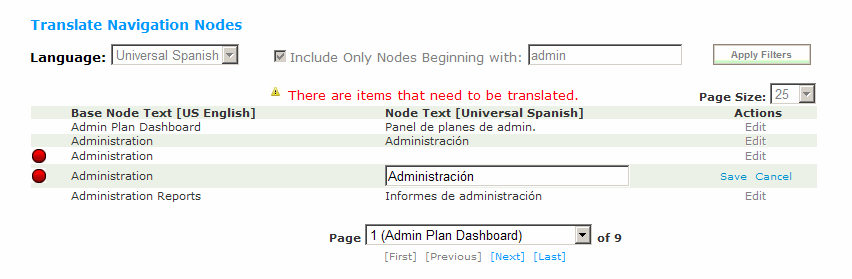
- Under the Actions column, next to the navigation node to translate, click the Edit link.
- The row opens allowing for inline editing of the navigation node name.
- After entering the translation, click Save.
|
© 2023 Rival. All rights reserved. |

 |